Introduction to Pear Tart
Pear tarts are a quintessential example of the elegance and simplicity that can be achieved in dessert cuisine. The combination of a flaky, buttery crust with the soft, sweet filling made from ripe pears is a testament to the versatility of this fruit. Whether served as a sophisticated finish to a dinner party or enjoyed as a cozy treat on a rainy afternoon, pear tarts have a universal appeal that transcends seasons and occasions.
The Elegance of Pear Tart
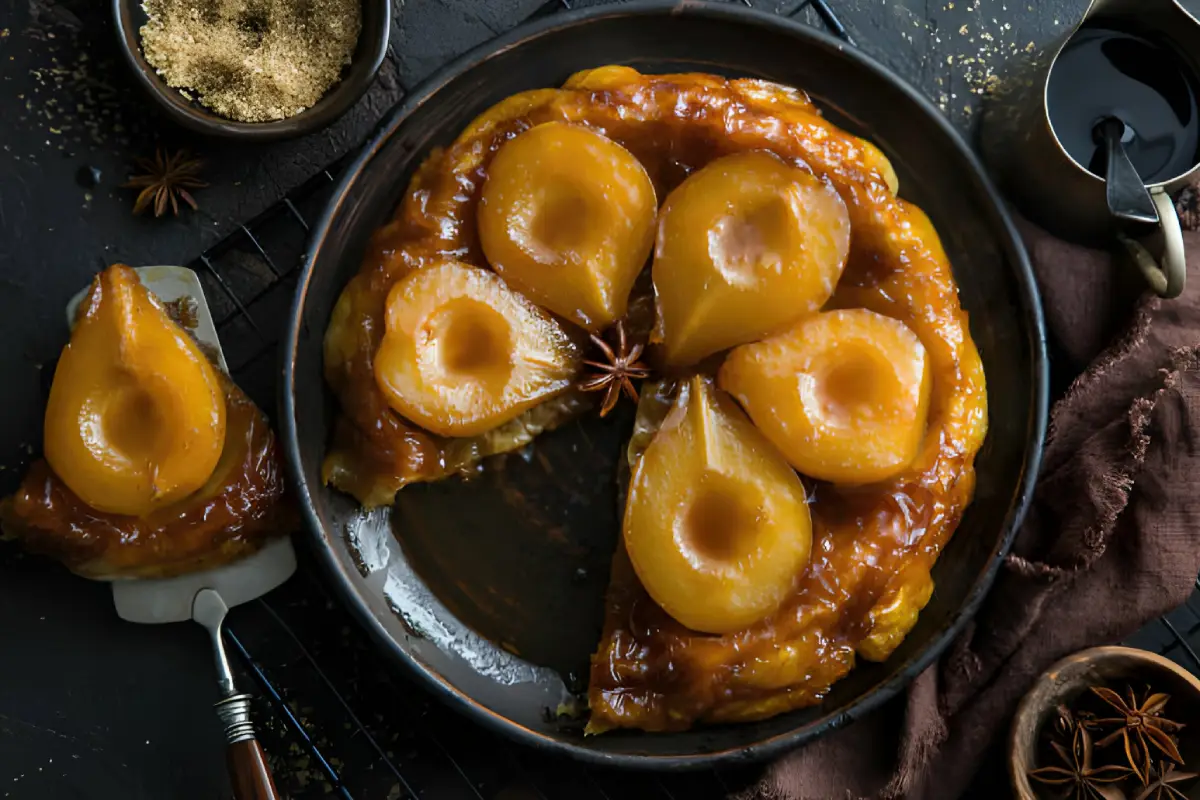
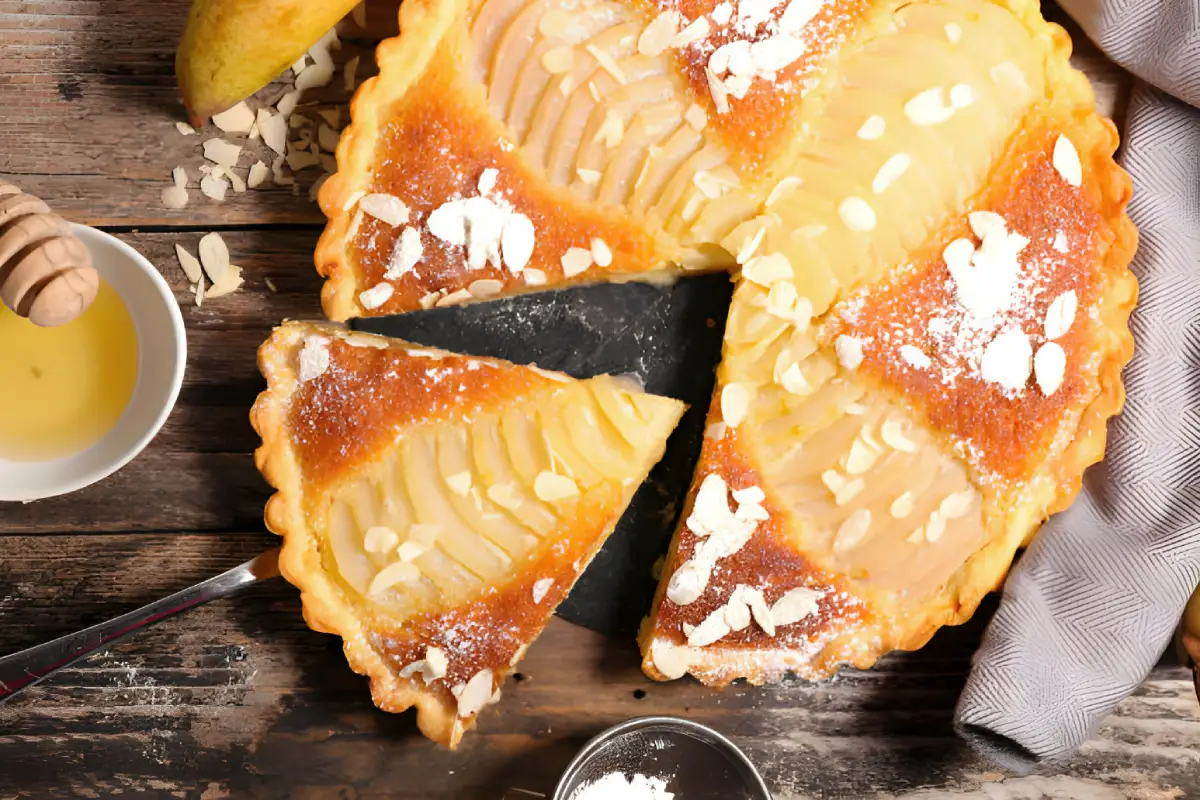
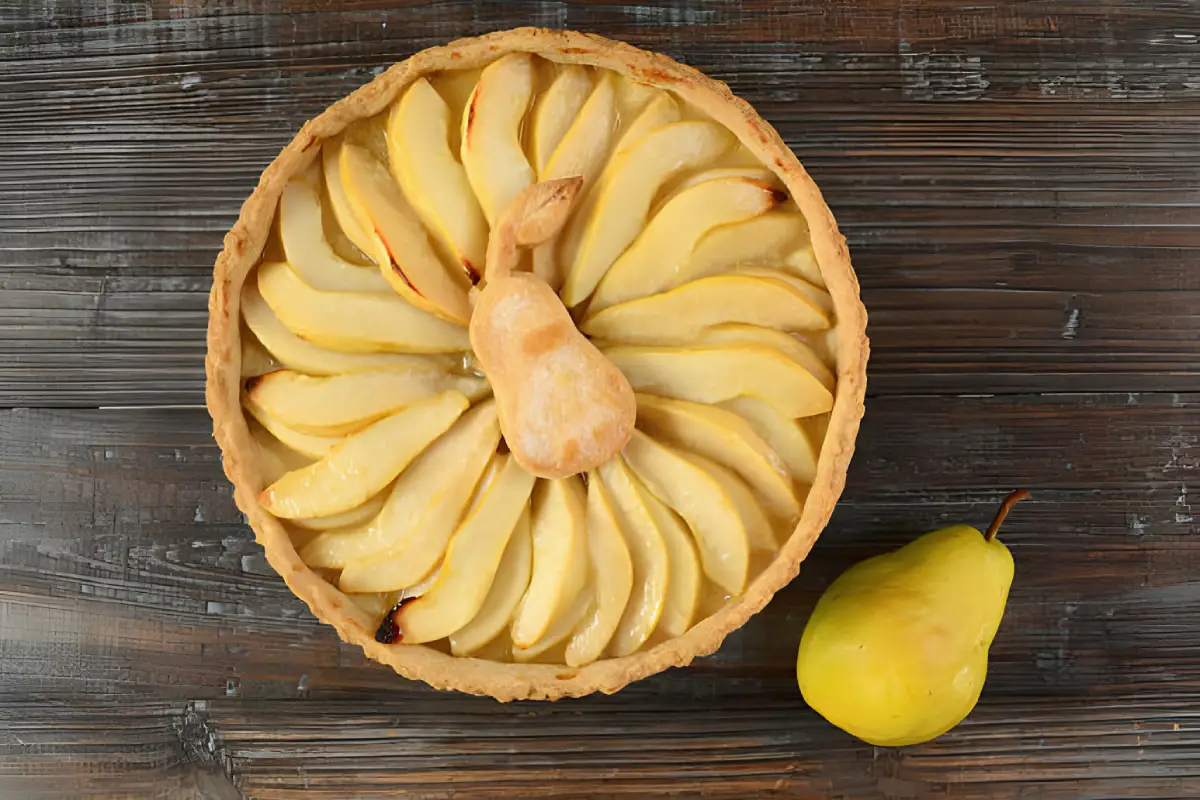
The allure of pear tarts lies not only in their taste but also in their presentation. The arrangement of thinly sliced pears atop the tart adds a visual element of artistry, making it as much a feast for the eyes as it is for the palate. The key to a perfect pear tart is in the balance of flavors and textures: the crispness of the crust against the tender fruit, and the sweetness of the pears complemented by the richness of the butter.
Incorporating seasonal fruits into desserts is a wonderful way to celebrate the bounty of the season. For those interested in exploring more about seasonal cooking, consider reading about Crispy Mashed Potato Pancakes, which showcases how a simple ingredient can be transformed into a delightful dish.
Overview of the Pear Tart’s Place in Dessert Cuisine
Pear tarts occupy a special place in dessert cuisine, bridging the gap between rustic home cooking and fine dining. They are a popular choice in both cafes and upscale restaurants, demonstrating their wide appeal. The simplicity of the ingredients required to make a pear tart—primarily pears, sugar, butter, and pastry dough—belies the sophistication of the final product.
For those who appreciate the art of baking, mastering the pear tart is a rewarding endeavor. It requires attention to detail, from selecting the right type of pear to achieving the perfect pastry consistency. Aspiring bakers can find inspiration in the variety of fruit-based desserts, such as the Key Lime Cake, another example of how simple ingredients can be elevated into an exquisite dessert.
Selecting the Best Pears for Your Pear Tart Recipe
Creating the perfect pear tart begins with selecting the right type of pears. The variety of pear you choose can significantly impact the texture and flavor of your tart. In this guide, we’ll explore the best types of pears for tarts and how to prepare them for baking.
Types of Pears for Tarts
When it comes to baking, not all pears are created equal. Here are some of the best varieties for your tart:
- Bosc Pears: Known for their firm texture, Bosc pears hold up well during baking, making them an ideal choice for tarts.
- Anjou Pears: Both red and green Anjou pears offer a slightly sweet flavor and a texture that softens nicely when baked.
- Bartlett Pears: Bartlett pears are a popular choice for their sweet flavor and smooth texture, which blends seamlessly into the tart.
Each variety brings its unique characteristics to your dessert, so consider experimenting with different types to find your perfect match.
Characteristics of Different Pear Tart Varieties for Baking
- Bosc Pears: Their firmness ensures they retain shape and texture after baking.
- Anjou Pears: A balanced sweetness that’s not overpowering, suitable for a tart that’s not too sweet.
- Bartlett Pears: They become exceptionally soft and juicy, adding moisture to your tart.
Preparing Your Pears
Proper preparation of your pears is crucial for the perfect tart. Here’s how to prepare pears for your tart:
- Peeling: Gently peel the skin off the pears to ensure a smooth filling.
- Coring: Remove the core carefully to avoid wasting any fruit.
- Slicing: Slice the pears thinly and evenly for a consistent bake and elegant presentation.
For those interested in exploring more about preparing ingredients for delightful dishes, consider reading about Crispy Mashed Potato Pancakes, which provides insights into transforming simple ingredients into something extraordinary.
Crafting the Perfect Crust
The crust is the foundation of any great tart, and achieving that perfect, flaky texture is essential for the ultimate pear tart. In this guide, we’ll explore the ingredients and techniques necessary to create both traditional and gluten-free tart crusts.
Crust Ingredients and Alternatives
A classic tart crust requires a few basic ingredients: flour, butter, sugar, and salt. For those seeking a gluten-free option, a combination of gluten-free flour blends can be used as a substitute without compromising the texture or taste of the crust.
Traditional Options:
- All-purpose flour: The backbone of the crust, providing structure.
- Cold butter: Ensures a flaky texture by creating steam pockets during baking.
- Sugar: Adds a slight sweetness to complement the filling.
- Salt: Balances the flavors.
Gluten-Free Alternatives:
- Gluten-free all-purpose flour: A blend of rice flour, potato starch, and xanthan gum can mimic the properties of traditional flour.
- Almond flour: Adds a nutty flavor and tender crumb to the crust.
For those interested in exploring more gluten-free baking, consider reading about Crispy Mashed Potato Pancakes, which showcases how alternative ingredients can be utilized in classic recipes.
Techniques for a Flaky Tart Crust
Achieving a flaky tart crust is all about technique. Here’s a step-by-step guide to ensure your crust is perfect every time:
- Keep ingredients cold: This is crucial for preventing the butter from melting into the flour before baking, which is key to a flaky texture.
- Use a pastry cutter or food processor: This helps incorporate the butter into the flour without overworking the dough.
- Chill the dough: Resting the dough in the refrigerator for at least an hour helps relax the gluten and solidify the fat, making the dough easier to roll out and contributing to the flakiness of the crust.
- Roll the dough evenly: Ensure the dough is rolled out to an even thickness to promote uniform baking.
- Blind bake (if necessary): For wet fillings, pre-baking the crust can prevent it from becoming soggy.
By following these steps and choosing the right ingredients, you can create a tart crust that is both delicious and visually appealing. Whether you’re making a traditional pear tart or experimenting with gluten-free options, the crust is the starting point for a dessert that will impress any guest.
Pear Tart Filling and Glaze
The heart of any pear tart lies in its filling and glaze, where the right balance of sweetness and texture can elevate this simple dessert into a masterpiece. In this guide, we’ll delve into how to prepare the filling and create a beautiful glaze that will give your tart a glistening finish.
Preparing the Filling
The filling of a pear tart should be tender, flavorful, and perfectly balanced in terms of sweetness. Here’s how to achieve that:
- Select the right pears: As discussed in previous sections, choosing the right type of pears is crucial. Bosc, Anjou, and Bartlett pears are all excellent choices.
- Mix with the right balance of sweetness: Combine your sliced pears with a mixture of sugar, cinnamon, and a touch of lemon juice to enhance the pears’ natural flavors without overpowering them.
- Add texture: For an added texture, consider incorporating a small amount of almond flour or finely chopped nuts into the filling.
Creating a Beautiful Glaze
A glaze not only adds a visually appealing shine to your tart but also adds a layer of flavor. Here’s how to create a simple yet effective glaze:
- Apricot jam: A common choice for a glaze due to its mild flavor and beautiful color. Gently heat the jam with a little water to thin it out, then brush it over the top of the tart after baking.
- Gelatin glaze: For a clearer glaze, a simple solution of gelatin and water, sweetened with a bit of sugar, can provide a glossy finish without altering the tart’s flavor profile.
For those interested in exploring more about enhancing flavors and textures in baking, consider reading about Crispy Mashed Potato Pancakes, which showcases the importance of balancing ingredients for the perfect outcome.
Baking Your Pear Tart
The journey to a perfect pear tart doesn’t end with preparing the crust and filling; baking is where all elements come together. Here, we’ll share essential baking tips and techniques to ensure your tart is baked evenly and to prevent common issues. Then, we’ll discuss the finishing touches that elevate your tart from good to great.
Baking Tips and Techniques
Ensuring your pear tart bakes evenly and comes out perfectly requires attention to a few key details:
- Preheat your oven: Ensure your oven is at the correct temperature before baking for consistent results.
- Positioning: Bake your tart in the middle of the oven to promote even heat distribution.
- Baking time: Keep an eye on your tart as it bakes. The edges should be golden brown, and the filling should be bubbly.
- Cooling: Allow your tart to cool in the pan on a wire rack to prevent the bottom from becoming soggy.
For those interested in enhancing their baking skills further, exploring recipes like Crispy Mashed Potato Pancakes can provide additional insights into the nuances of baking and cooking with precision.
Finishing Touches
Adding final garnishes not only enhances the presentation but can also add texture and flavor to your pear tart:
- Dust with powdered sugar: A light dusting adds a sweet finish and a professional look.
- Glaze the pears: Brushing the pears with a simple apricot jam glaze gives them a beautiful sheen.
- Add fresh herbs: A sprig of mint or thyme can add a pop of color and a fresh flavor contrast.
Variations on the Classic Pear Tart
The classic pear tart is beloved for its simplicity and elegance, but there’s plenty of room for creativity. By exploring flavor combinations and making adjustments for dietary considerations, you can create a pear tart that’s uniquely yours.
Exploring Flavor Combinations
Incorporating spices, nuts, and other fruits can transform the classic pear tart into something new and exciting:
- Spices: Adding cinnamon, nutmeg, or cardamom can enhance the natural sweetness of the pears.
- Nuts: Sprinkle almonds, walnuts, or pecans for a crunchy texture and rich flavor.
- Other Fruits: Combine pears with apples, berries, or figs for a complex flavor profile.
These additions not only introduce new flavors but also add a beautiful visual element to your tart.
Vegan and Dietary Considerations
Making a pear tart that accommodates dietary restrictions doesn’t mean compromising on taste or texture:
- Vegan Options: Substitute butter in the crust with coconut oil or vegan butter, and use agar-agar instead of gelatin for the glaze.
- Gluten-Free Crust: A blend of gluten-free flours and almond meal can create a delicious crust that everyone can enjoy.
For those interested in exploring more about dietary adjustments in baking, consider reading about Crispy Mashed Potato Pancakes, which showcases how alternative ingredients can be utilized in classic recipes.
FAQs
Do I need to peel the pears?
Yes, peeling the pears is recommended to ensure a smooth texture in your tart. The skin can become tough and chewy after baking, which might detract from the delicate filling of the tart.
Can I make the tart crust in advance?
Absolutely! Preparing the tart crust in advance can save you time. Simply wrap the dough tightly in plastic wrap and store it in the refrigerator for up to 2 days or freeze it for longer storage. Thaw overnight in the refrigerator before using.
How do I store and reheat leftover pear tart?
- Storing: Keep leftover pear tart in an airtight container in the refrigerator for up to 3 days.
- Reheating: Warm it in a preheated oven at 350°F (175°C) for about 10 minutes or until heated through. This helps to maintain the crust’s crispness.
For those interested in exploring more about preparing and storing desserts, consider reading about Crispy Mashed Potato Pancakes, which provides valuable insights into making and enjoying leftovers.
